
Switch Node.js versions with the Node Version Manager (nvm)
»Node.js«
Quick Tip, Node.js, Versions, homebrew, npm
Update from June 2, 2016
- Update versions numbers in examples
- Add info about getting version infos
- Add note about potential problems with linking global packages
- Complete info about handling of globally installed packages
Sure you can just use homebrew to update your Node.js installation when there are new releases. It’s in fact very handy to do so. But beside the quirk when it comes to updating npm there is a method which makes switching Node.js version even easier. This became more important since the stable release of Node 4.0 which I like to use. But I have to be able to use a different Node version just in case thinks break with Node 4.0.
Uninstall node via homebrew
First we could check which version of node we are using:
$ node -v
v5.5.0
Let’s get rid of this and older versions in the cellar of homebrew:
$ brew uninstall --force node
Uninstalling node...
Potential problems with linking global packages
Double check if there still is a node_modules directory in /usr/local/lib holding your globally installed packages. Do yourself a favor and remove that to prevent possible issues with linking globale packages via npm link.
Installing the Node Version Manager (nvm)
I prefer installing it via homebrew:
$ brew update
$ brew install nvm
Please have a look at https://github.com/creationix/nvm in case you would like to do a manual install.
Either way you have to add a few lines to your ~/.bash_profile, ~/.zshrc or ~/.profile. In case of the homebrew installation it is:
export NVM_DIR=~/.nvm
source $(brew --prefix nvm)/nvm.sh
Using nvm
To download, compile, and install the (currently) latest v6.x.x release of node, do this:
nvm install 6
Let’s install the latest v5.x.x release in addition:
nvm install 5
You will use the latest installed version automatically after installation. Switching version is easy as:
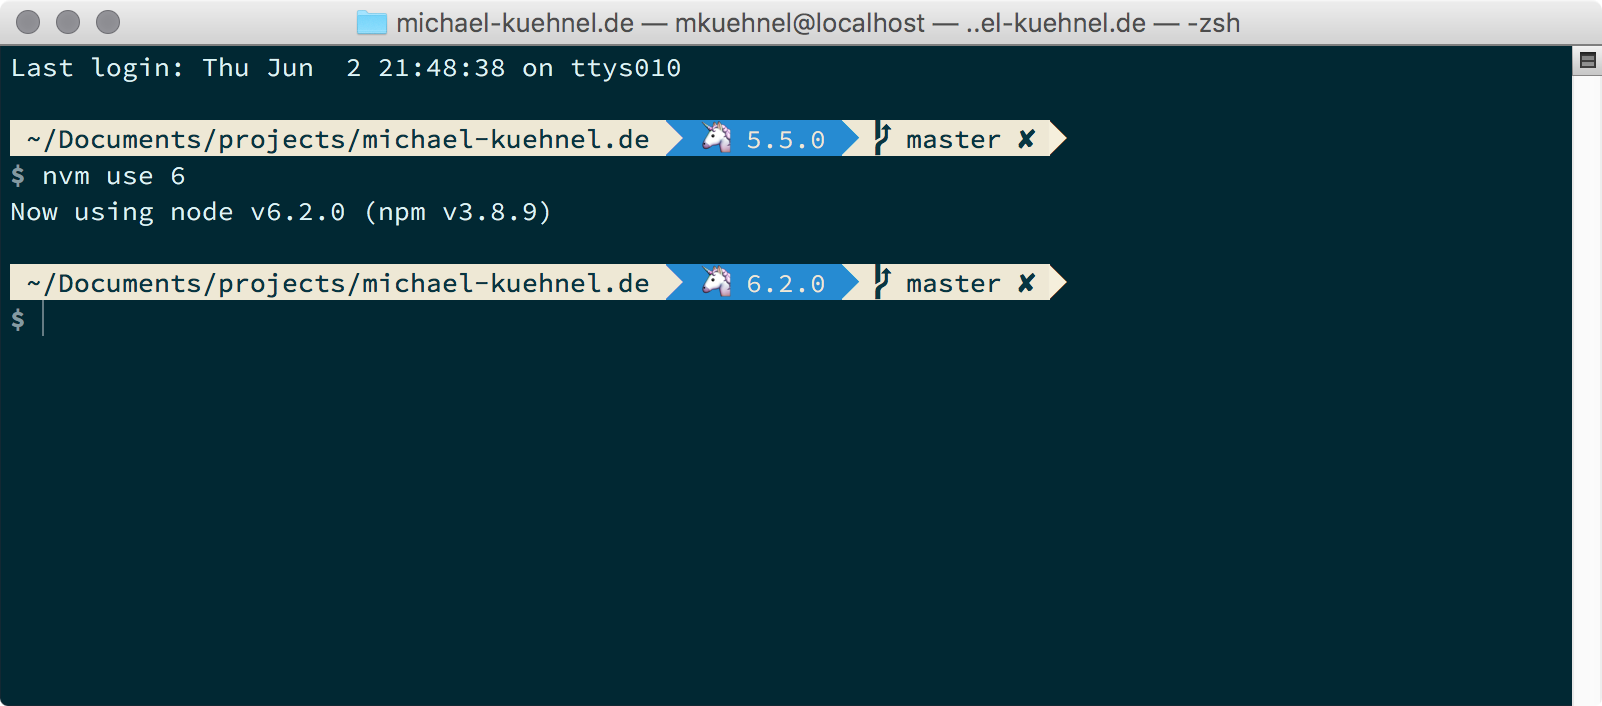
nvm use 6
In place of a version pointer like “6”, you can use the special default aliases like “stable” and “unstable”:
nvm install stable
nvm install unstable
nvm use stable
Globally installed packages
Please note that you have to install global packages with every node version your are using with nvm.
Another day, another Node.js release”
This is something you want to automate since releases of Node.js are pretty frequent (for a good reason). Thankfully nvm offers to ways to accomplish that.
Reinstall during install
The easiest one is to take care of that after during installation of a new node version with:
nvm install node --reinstall-packages-from=node
This will install the latest release and reinstall the globally installed packages from the predecessor.
You also can use more explicit versions like this:
nvm install 6.2 --reinstall-packages-from=6.0
Reinstall later
You can »transfer« your global packages from one version to another at any given time. Just use:
nvm reinstall-packages <version>
This will reinstall global packages contained in <version> to the current version in use.
Setting a default version
You need to set a default version if you dont want to be surprised by switched versions with every opened Terminal window/tab. There are the two following ways to accomplish this.
Via config file
You can place a .nvmrc file in your home directory to define your prefered version globally. For example:
5
This can be overidden by placing other .nvmrc files in your project root directories.
Via nvm alias
Alternatively you can add an alias with nvm alias <name> <version> :
$ nvm alias default 5
default -> 5 (-> v5.11.1)
Enter nvm --help to see how to handle aliases.
So many versions 
After a few releases it might come in handy to check which versions are installed and which you are currently using.
Just enter the following to see which versions are installed:
$ nvm ls
This will also highlight the version currently in use.
You could also fire nvm current to see what version your are using.
Showing the current version in your prompt
There are zsh themes like Bullet Train which offer to make the version visible with every prompt.
 Pretty nifty, huh?
I guess that’s all you need to know to start using nvm. Make sure to checked out the project on Github in case you like to dig deeper.
Related posts
- Stencil and Storybook – How to generate argTypes from JSDoc comments
- How to flash ESP8266 (and ESP32) to use Espruino firmware on macOS
- Helpers and tips for npm run scripts
Comments
Comments are removed for now. Feel free to contact me via Twitter in case you’d like to talk about this blog post: @mkuehnel.